
Why retouch? [UPDATE]
[UPDATE: January 30, 2009] Please note the part about setting the light in SL client is outdated since Windlight was introduced. The rest of the article is OK :)
Have you ever wondered why other people's photographs from SL are so crisp and clear, nicely coloured and without any SL weird glitches while yours are dark and blurry? That's the power of retouching. If done properly, editing images can enhance a lot the look of your photos. It allows to use your pictures more effectively as you can add a certain atmosphere to the photo, depending on what's needed. What's important is not to go too far or the picture will look unnatural. The aim of retouching is to emphasize the content of the image, not change it.
Retouching is essential for having pro looking photos. It's particulary important if you're a Second Life model, completing your portfolio or a photographer, offering services to other SL residents. Professional looking images will generate more opportunities. But I feel it's also a great idea to retouch when creating profile photos - after all they're the first photos that your new friends will look at.
There are various retouching techniques and tools, and most people have their own ways of editing images. I'll be using Photoshop for this tutorial but feel free to try these techniques in Gimp, Paint Shop Pro or any other graphics software you like. I assume you have some skills in working with graphics software, so I will focus on what have to be done with the image rather than how to do it.
First you need your base photo. You can do magic with retouching, but a good base image will save you a lot of work. Make sure you have 'High-res Snapshots' selected when taking photos in SL:
There's also another reason for taking large-sized snapshots in SL. After scaling them down to desired size, the contours are less pixelated and the overall image looks a little better. Compare in the photos:

Picture on the left was taken in-world with a size of 1024x712. Picture on the right was taken with a size of 2048x1424 and then scaled down to 1024x712. As you can see, the difference is significant, so keep that in mind during the photoshoot.
When taking snapshots of your avatar in-world, it's a good idea to force the sun to Sunrise and pose facing the opposite side to the sun (the sun should be shining on your back):
Another trick is to use a face lamp. With face lamp you can face any direction and still look good. In its simplest form, a face lamp is just a prim, usually a sphere, emiting light. You can easily make one yourself but if you don't have any building experience, you can pick a free face lamp somewhere, for example D-Skin demos come with one (visit the shop). For face lamp to work properly, you have to enable Nearby local lights:


If you need a close-up of some detail, use:

Finally, if you plan to cut out your avatar from the background later, make sure you put a white prim wall behind the avvie. This will make your work much easier and will save a lot of time.
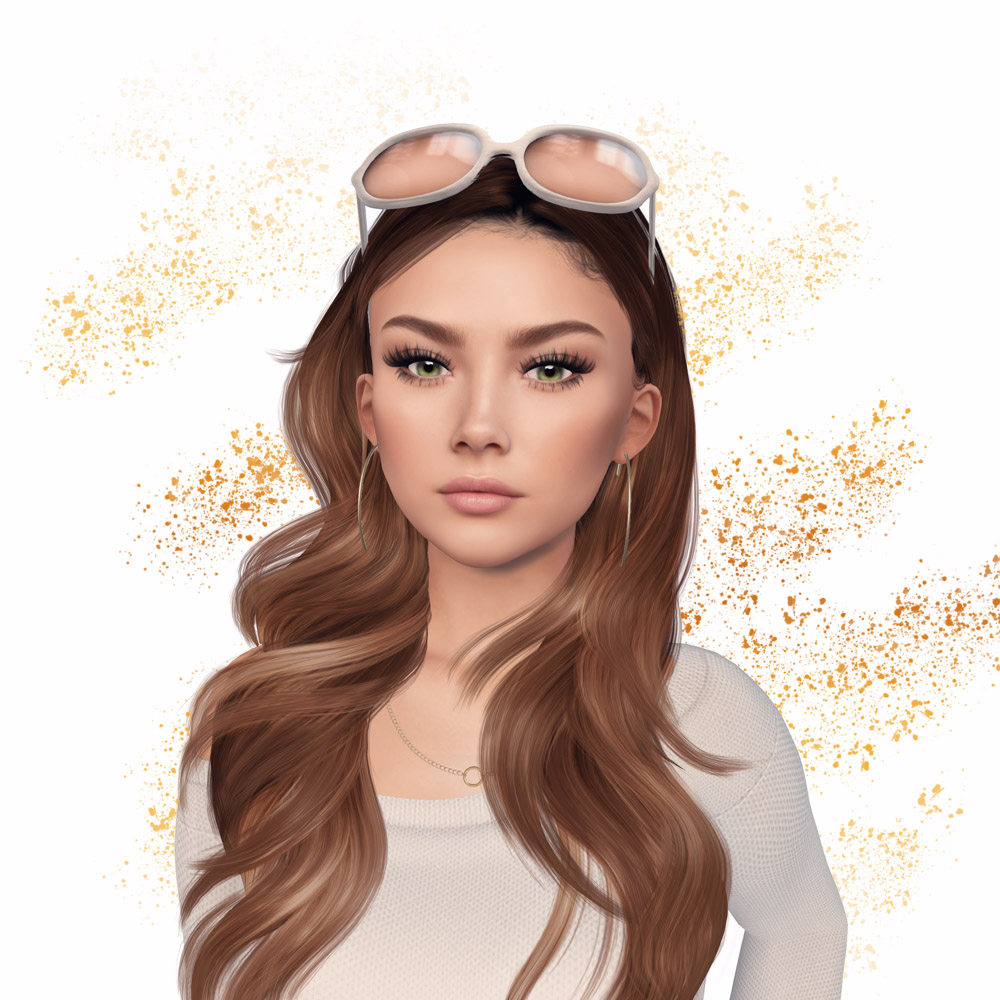
For this tutorial I will use the photo you see in the header of my blog. The photo was taken with a size of 2048x1424 and white prim wall behind me. The first thing to do is separating the avatar from the background, which is pretty easy with Magic Wand tool OR Select Color Range tool:

The next step is adjusting the colours, brightness and contrast of the picture. I like to do it using curves, since it's very fast:

The upper point you created is responsible for highlights, the lower one for shadows. Depending on your picture, your S-curve shape may vary (be more flat or more curved). Sometimes very minor point movement may result in large changes in the picture. If that's the case, enlarge curves window for easier tuning. Don't exaggerate with your curves to avoid posterization.
In the next step remove any weird looking dark pixels using the Healing Brush. This should give the photo some smoothness.

This way we're approaching the most time-consuming part, and that is using the Liquify Tool:

After all the corrections are done, add some background, make final adjustments if needed and your image is ready. Of course you can play with it further and add some style to it (glamour, grunge, etc.). It's the fun part of the whole process and what happens here is everyone's personal preference. Try different things and shortly you'll come up with your personal style.
Here's the comparison of my base photo, the final image (used in the header) and the image after playing with it a little bit:

I hope this tutorial was helpful to you. If you have any questions, feel free to post them in the comments. Also, post a link to your final retouched photo, as I'd love to see it.
Have you ever wondered why other people's photographs from SL are so crisp and clear, nicely coloured and without any SL weird glitches while yours are dark and blurry? That's the power of retouching. If done properly, editing images can enhance a lot the look of your photos. It allows to use your pictures more effectively as you can add a certain atmosphere to the photo, depending on what's needed. What's important is not to go too far or the picture will look unnatural. The aim of retouching is to emphasize the content of the image, not change it.
Retouching is essential for having pro looking photos. It's particulary important if you're a Second Life model, completing your portfolio or a photographer, offering services to other SL residents. Professional looking images will generate more opportunities. But I feel it's also a great idea to retouch when creating profile photos - after all they're the first photos that your new friends will look at.
There are various retouching techniques and tools, and most people have their own ways of editing images. I'll be using Photoshop for this tutorial but feel free to try these techniques in Gimp, Paint Shop Pro or any other graphics software you like. I assume you have some skills in working with graphics software, so I will focus on what have to be done with the image rather than how to do it.
First you need your base photo. You can do magic with retouching, but a good base image will save you a lot of work. Make sure you have 'High-res Snapshots' selected when taking photos in SL:
ClientIt's better to take a big-sized photo and scale it down, than the other way. If you try to scale a small image to a higher resolution, you'll see the quality is lost. This is because each pixel of a raster image has individually defined colour. When scaling up, your graphic program have to extrapolate how many pixels to add and what colour they should be, basing on the original image. This results in bad quality blurred image.High-res Snapshots
Note: if you don't see the Client menu, press Ctrl + D and it should appear.
There's also another reason for taking large-sized snapshots in SL. After scaling them down to desired size, the contours are less pixelated and the overall image looks a little better. Compare in the photos:
Picture on the left was taken in-world with a size of 1024x712. Picture on the right was taken with a size of 2048x1424 and then scaled down to 1024x712. As you can see, the difference is significant, so keep that in mind during the photoshoot.
When taking snapshots of your avatar in-world, it's a good idea to force the sun to Sunrise and pose facing the opposite side to the sun (the sun should be shining on your back):
WorldThis way your face and chest will look the best (the shadows get somewhat softer). You will have to adjust the picture in the graphics program (it comes out a bit dark) but for me this method has worked the best so far, in terms of how the avatar looks.
Another trick is to use a face lamp. With face lamp you can face any direction and still look good. In its simplest form, a face lamp is just a prim, usually a sphere, emiting light. You can easily make one yourself but if you don't have any building experience, you can pick a free face lamp somewhere, for example D-Skin demos come with one (visit the shop). For face lamp to work properly, you have to enable Nearby local lights:
EditWhen wearing a face lamp, you can face any direction and still have proper light around your avvie. Compare in the photos (the sun is set to Sunrise in all of them):
If you need a close-up of some detail, use:
Ctrl + 0 (to zoom in), Ctrl + 8 (to zoom out) and Ctrl + 9 (to go back to default)It's a great way of focusing on certain parts of avatar's face, showing texture richness or presenting clothing details.
Finally, if you plan to cut out your avatar from the background later, make sure you put a white prim wall behind the avvie. This will make your work much easier and will save a lot of time.
For this tutorial I will use the photo you see in the header of my blog. The photo was taken with a size of 2048x1424 and white prim wall behind me. The first thing to do is separating the avatar from the background, which is pretty easy with Magic Wand tool OR Select Color Range tool:
Select MenuI like to put the cut-out on some vibrant background, to see clearly what I'm working on. When removing the background it's important to remember about the little closed areas we tend to forget about and leave with the background, eg. around the hair or bracelet:
The next step is adjusting the colours, brightness and contrast of the picture. I like to do it using curves, since it's very fast:
Image MenuThere's a trick that many professionals use to quickly give the photo that "proper" look. The trick uses so called S-curve. To make it short, all you have to do is to create two points on the line and use them to shape the line into S:
The upper point you created is responsible for highlights, the lower one for shadows. Depending on your picture, your S-curve shape may vary (be more flat or more curved). Sometimes very minor point movement may result in large changes in the picture. If that's the case, enlarge curves window for easier tuning. Don't exaggerate with your curves to avoid posterization.
In the next step remove any weird looking dark pixels using the Healing Brush. This should give the photo some smoothness.
This way we're approaching the most time-consuming part, and that is using the Liquify Tool:
Filter MenuIf you never used this tool before, there's a great video tutorial by Vint Falken. Take some time to watch the video and you'll upgrade one level up in your graphic skills :) Using the tool correct any squared body parts you notice and smooth any weird looking edges. Pay more attention to breast area and bra straps (or other parts of clothing that need to be corrected). Sometimes you might need the Healing Brush to correct these (I actually copied the left strap, placed it on the right side and did some corrections with the Healing Brush).
After all the corrections are done, add some background, make final adjustments if needed and your image is ready. Of course you can play with it further and add some style to it (glamour, grunge, etc.). It's the fun part of the whole process and what happens here is everyone's personal preference. Try different things and shortly you'll come up with your personal style.
Here's the comparison of my base photo, the final image (used in the header) and the image after playing with it a little bit:
I hope this tutorial was helpful to you. If you have any questions, feel free to post them in the comments. Also, post a link to your final retouched photo, as I'd love to see it.
3 comments
This is a really nice tutorial!
ReplyDeleteThank you! I'm happy you find it useful :)
ReplyDeletehttp://www.photoinstrument.com is good retouch tool
ReplyDelete